It’s All About the Benjamins: Why Worn Shredder Grates Reduce Your Revenue
My colleague Ben chuckles when I summarize his lessons by saying “It’s all about the Benjamins, isn’t it.” He laughs, but it’s true — often we lose sight of our goals in different metrics, philosophies, and competing perspectives.

However, if we think about the goals in terms of money, sometimes things get clearer.
Similarly operators get stuck in a rut and unwittingly shift focus on their shredding goals. These days, cost reduction is a major concern for every company shredding scrap. We’re all doing more with fewer people, stretching maintenance periods, and looking for the most competitive price.
With all the metrics, reports, cost reduction goals, competing priorities of the times, it can change your operating focus. And change how you view shredder wear parts.
Ben has visited a several operations, obviously well run and maintained. They all had their preference for a certain bottom grate and revealed they’ve been able to push the grate well beyond recommended life, saving them money.
Just because you can run a set of grates an extra long -time, doesn’t mean that you should. The loss in shred density and non ferrous liberation may be greater than the cost of replacing the grates on schedule. While saving on wear part costs and reaching your cost reduction targets, are you throwing away profitable zorba & zurich non-ferrous recovery in the process?
We see it as stepping over a dollar to pick up a dime. What does the money say?
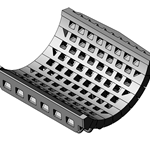
K2 RecoveryGrates
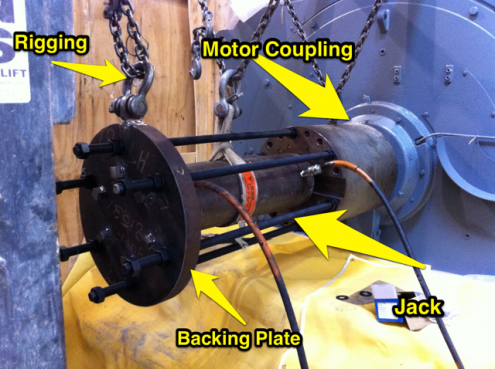
Excessively worn grates do not reduce and liberate as well as fresh parts in the shredder box. As you approach the end of grate life, you’ll find grate hole size increases and the distance from hammer tip to grate face increases.
You’ll also see the distance from anvil or cutter bar to the hammer tip open up, reducing effectiveness. When shred density diminishes, so does the recovery rate in your downstream separation system.
Your steel mill consumer doesn’t like the poor shred density, cleanliness, or copper content worn grates yield. Your eddy currents and induction sorters have a tougher time pulling out materials, if they are making it to the separation plant at all. Non-ferrous metal units are lost to your ferrous pile or waste stream.
If worn grates cut your recovery even a 0.5%, what does that mean to the money?
Let’s use very conservative numbers. Running 10,000 GT per month, an economizer stretches his grate change from 65,000 GT to 95,000 GT. He paid $50,000 for the grate set. At 6.5 months to recommended change, his cost is $7692 per month for grates. He went an extra 3 months, so let’s say his grate cost is zero during the 3 months of extended use. In other words, he saved $7692 per month for 3 out of 9.5 months.
Let’s conservatively say once the grates hit normal life, they yield just 0.5% less non-ferrous recovery. The grate holes open up, the clearances inside increase, the hammers tend to drag over the scrap a bit, and cream puffs of tin start dropping off the undermill oscillator. Recovery is often expressed as pounds of metals per shredded ton of ferrous output. We’ll use a common baseline of 100 lbs per output ton.
Again, conservatively lets use a drop from 4% to 3.5% non ferrous per shredded ton. It’s likely much higher than that. Non ferrous units go down from 100 to 95 pounds per shredded ton. We’ll let you do the final step to find the money, taking your average price per pound for recovered shredded metals. We’ll just look at the quantity.
- Worn grates loss is 0.5% per shredded ton
- 10,000 GT x 100 lbs/shredded ton = 1,000,000 lbs per month
- 10,000 GT x 95 lbs/shredded ton = 950,000 lbs per month
During that 3 month run, non-ferrous revenue dropped by 50,000 pounds per month for a 3 month total of 150,000 pounds. Convert that to the sales revenue yourself. 3 or 4 containers of shredder metals is lot more than $23,100.
- The delayed grate change saved $7700 per month for 3 months, or $23,100
- Loss in non ferrous metal units 50,000 lbs per month, 150,000 lbs for 3 months
Why are we shredding?
Everyone can trim costs each month and do with a little less. But looking at the money gives us a fresh perspective at how we set those interim goals.
At the request of our best customers, we designed in wear indicators to our K2 RecoveryGrates. We just listened to their feedback, “When when the grate is done, we want to know quickly.”
No stepping over dollars to pick up dimes. 
Want more non-ferrous recovery from your feed stock? Our K2 RecoveryGrates can help you get more from what you already have. Need a better non-ferrous recovery system? Give us a call on helping you find the right solutions for your capital budget. It’s all about the Benjamin’s!


 many potential positions, in the majority of applications it is best in terms of performance and reduced wear parts cost, to use fewer