Posts tagged shredding

March 11, 2015

TOUGH TIMES, BUT DON’T SHORTCUT SHREDDER MAINTENANCE

Ben Guerrero

Early 2015 is a tough time to be in the shredding business. Scrap prices continue their deep dive while the input side of the business tries to adjust to the change in value.  It may be the sign of a fundamental reset in the value of scrap.  Obsolete scrap volumes may lag for some time until the economics of disposal and transport become clear.  If you are running a shredder on a limited schedule, can you safely defer routine maintenance?

What do we mean by routine?  They are the habitual tasks that are part of best practices.  They are the small things you know are important, but are tempted to defer because of limited run time or available maintenance hours.  And they are normal maintenance expenditures you might be tempted to put off until better markets return.  Skipping what you know works isn’t ‘adapting’ to new realities but a mentality that will cause more costly problems down the road.

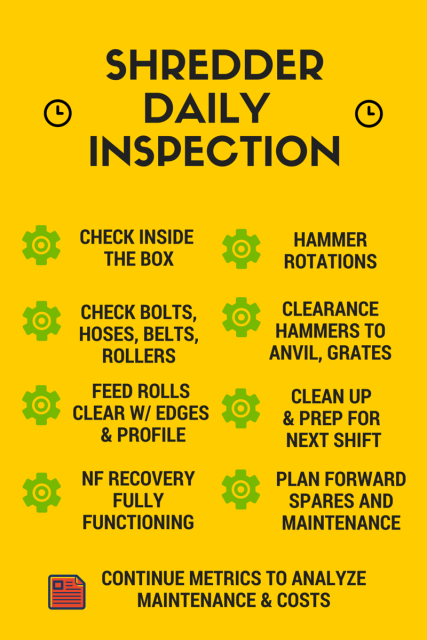
Everyone just needs to take stock of their current production requirements and adjust upon facts, not guesses. The plain truth of the matter is the shredder has to be opened and looked at after every production shift.  Inspecting the box is a matter of routine, not tons.  Who has not had a problem in the first part of a production shift? There may be a piece of scrap jammed in such a way it will pop off end caps or bind the rotor during start up.  Inspecting after each production shift helps you plan for regular maintenance and reduces the chances of surprises.

Everything needs to be checked, despite reduced manning and run hours.

  • bolts have to be tightened
  • liners have to be replaced when wore down
  • feed rolls have to be cleaned of scrap and maintained
  • hammers need to be flipped, moved, or replaced
  • check the distance between hammers and grates & anvils
  • Non-ferrous recovery systems need regular checks to be sure they are fully functioning

Grates have to be checked for proper distance from the hammers to be sure you are getting the best density and non ferrous recoveries from your processing.  The anvil to hammer distance keeps cutting and sizing working to ensure efficient throughput in the mill. Many things are checked on each shift that influence how well the shredder performs and keeps production costs in line with expectations.
daily shredderinspectionsPlanning ahead on vital spares and replacement parts cannot be deferred too far into the future.  If you shred, often you will need it sooner than you think.  Rotors, motors, bearings can fail at the least opportune moment.  Ordering ahead of time and using your labor hours in a pre-determined way helps keep overtime and costs level.

In the business of shredding scrap, not everything works out as expected.  Despite economizing on maintenance and repair, you know where you can defer and where you can’t.  Go with the things you know work best. It will save you headaches and money in the long run.


October 6, 2014

Infrared Camera Positions for Shredder Infeed

Tom Stanek

Why use an infrared (IR) camera at your shredder infeed?  They do pay for themselves in short order with more tons per hour and less delay time over the course of a shift.  And there are ways to keep them out of harm’s way.

Damp and wet system shredders produce a fair amount of steam to accomplish their goals for dust control and regulating the mill box environment.  Get the dew point close to the air temp and you have a lot of steam, really obscuring the view of the feed chute.

One solution is the infrared camera to peer through the steam.  The heat from the shredder lights up the view from behind, creating a back lighted view of what’s in front of the heat.  That would be your feed stock in the feed chute.

While you don’t have to see what’s in front of the DFR, it is extremely helpful to avoid jams and underfeed minutes to the mill.  Keeping the feeder rolling and the mill box full is what it’s all about.  Pencil in the total minutes of non productive time with feed issues against the cost of the camera system, and you will find the cost of a camera reasonable.

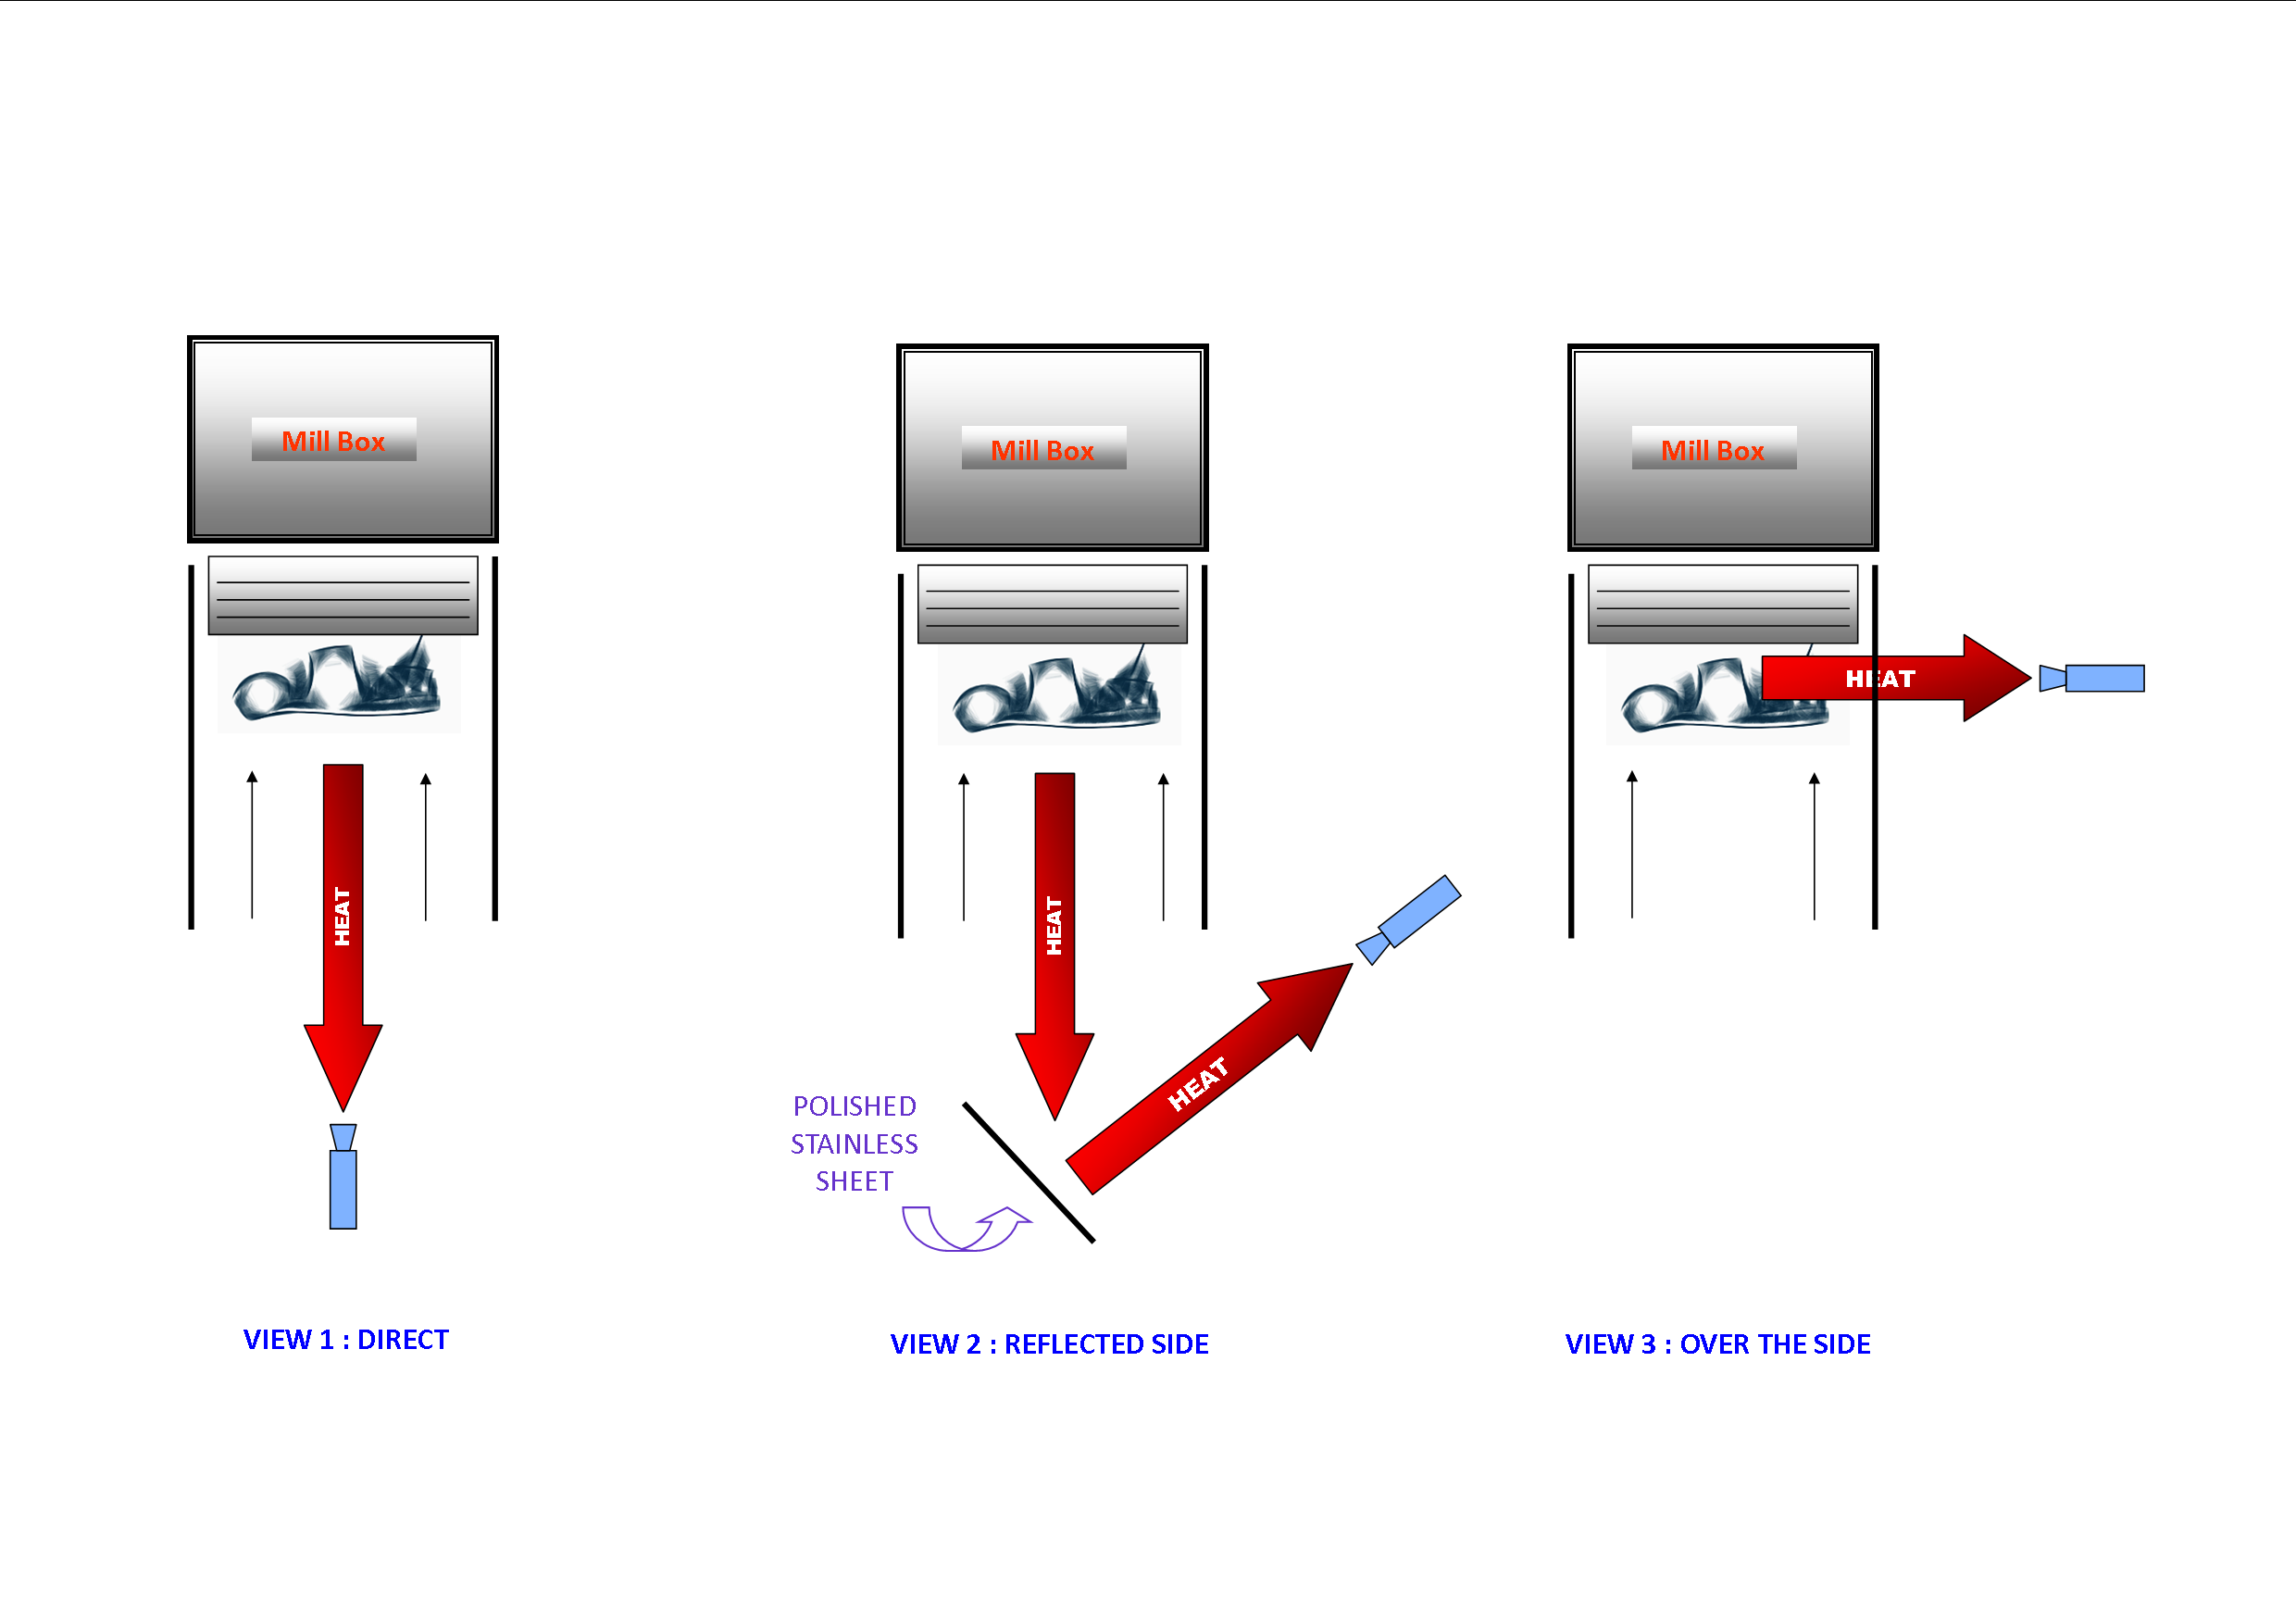
A direct camera alignment takes in a full heat signature and gives the best camera image.  But the direct mount is also subject to direct damage.  Fortunately new  camera’s are more sensitive and allow for some alternate mounting methods.

View 1 is the direct mount, with full heat ‘lighting up’ the scrap in front of it.  Bright and sharp views, but hard to maintain and service.

View 2 is the reflected side mount.  The heat signature can be bounced off a polished reflective surface and seen by the camera safely mounted to the side.  A stainless sheet with adjustable mount works well.  We’ve heard of commercial flat screen TV brackets working well to adjust the reflector.  The camera is out of harm’s way, but you need a high enough mounting point for the reflector to keep it clear of the scrap moving over the infeed conveyor.

IR Views

IR Camera Positions


View 3 is a side mounted camera.  New IR systems are sensitive enough to present the scrap profile in front of the feed rollers even from a side view.  The camera is very much out of harm’s way, but  you need a tall mount to look over the side of the feed chute.

The side mount is often the easiest mount, close to platform or protective screen, with less cable run, and easy access.  How does it look?  See the video below.   This camera is a FLIR model A300 with 17mm lens provided as a package by Shredder Vision.

August 1, 2012

Organize Your Wear Parts Storage Area

Ben Guerrero
shredder hammers

Wear Parts Inventory

Ever have a liner break before its normal replacement time?  Then when you go to replace it you don’t have a spare?  It happens from time to time.  First, it’s best to use K2 Castings shredder wear liners, second don’t wear your liners too thin, third, replace loose liner bolts, and fourth, keep your storage area organized so everyone has a clear view of what’s on hand and where to find it.

Here are some quick tips on keeping your shredder wear parts inventory working to your advantage.

  1.  Create a listing of all the wear parts required and quantities on hand to get an accurate starting point. Every time maintenance is performed make sure to record the parts used and deduct it from the original total. It is a simple concept, but very hard to stay consistent.  Monthly inventory counts help you avoid surprises.
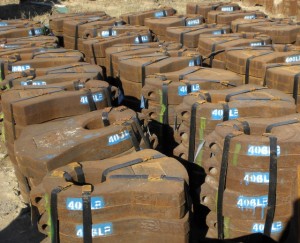
  2. Organize the spare parts area for clear viewing and easy counts.  Burying parts on top of one another will make inventory checks difficult.  Try to keep your storage area away from the shredder.  Sometimes scrap and debris which can cover your parts if they are stored too close to the shredding process.
  3. If you have the room, designate a spot for each part and paint the part number on the pavement. This will aid in keeping track by having a visual reference when a part has been used. If you are fortunate to have a building for your parts, you can line them up and hang placards with the part numbers on the wall.
  4.  Keep used parts in completely different areas to avoid parts confusion. If you are using worn hammers as back ups or pin protectors, weigh and mark them, then stack them on a pallet for easy access.
  5.  Keep parts rotated using the oldest parts first (FIFO) to keep your wear parts within your replacement warranty time limits. Parts have heat numbers which the foundries keep on file in case there is a possible casting problem.

Easy to count and access inventory

Hope this helps with some simple ideas to keep from getting caught short.